
Leather belts are made in so many different sizes, and this is to fit all different types of people. But what do you do if it is not the right size? You need to work out how to adjust it.
Here Are Five Ways To Shorten Your Leather Belt:
To shorten your leather belt there are five options, two being taking your belt to a cobbler or a leather belt shortening service. The other three methods include some fixing that you need to complete and this includes shortening without cutting, remove buckle to cut and removing the tail end of the belt.
We will discuss all of these methods in detail so you will know which option is best for you, so you can adjust your leather belt to the correct size. Thanks for reading.
Five Methods To Shorten Your Leather Belt
a. Cobbler Shortening Your Belt
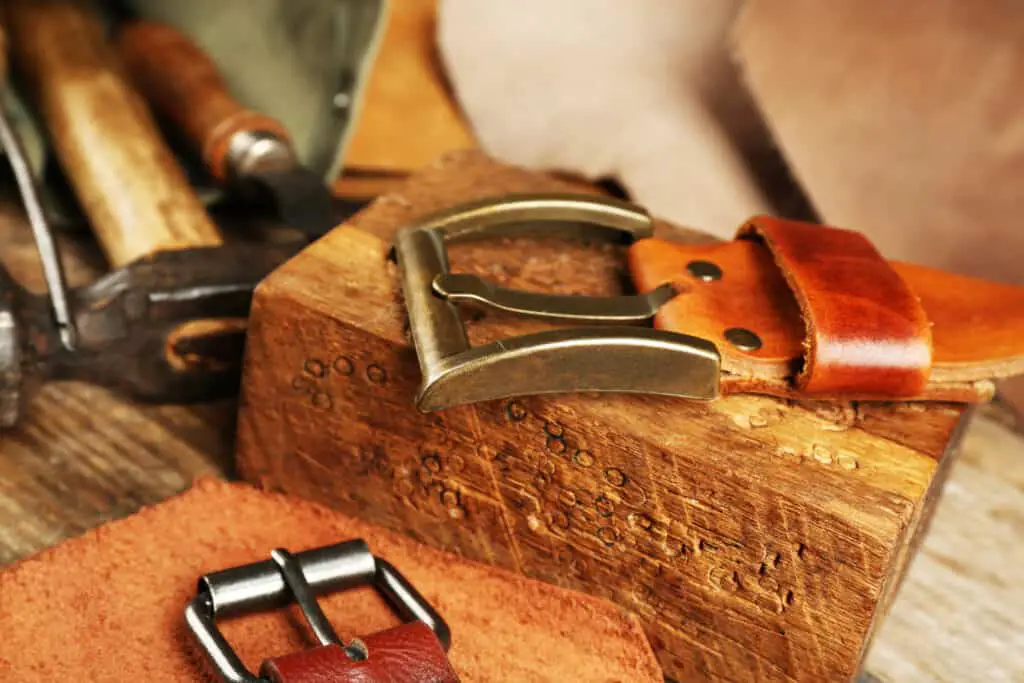
A cobbler is someone who repairs or makes shoes. He is also known for being able to stretch or shorten a belt by doing some stitching work. Here is how a cobbler shortens a belt.
1) By removing the buckle, cutting it to the required length, and then returning the buckle.
The cobbler will cut off the buckle section of your belt and then re-attach it to shorten the belt.
2) By cutting the tail end of the belt and adding some adjustment holes.
The cobbler will cut the pointing side of the belt and add some holes to give you more room.
3) By adding some holes without cutting the belt.
Some belts do not have more holes, so the cobbler will use his tools to add some new ones. This is useful when there are no adjustment holes at all and you want more belt length.
The Benefits of taking your belt to a cobbler are:
1) Gives you more options, like extra holes without cutting the belt. The belt will look brand new.
2) This does not damage the belt as much as other solutions, such as adding a buckle extension.
3) A cobbler can do this work in just a few minutes and usually only costs a few dollars! A quick and easy solution.
4) They have the right tools and knowledge to do the work.
5) They will usually fix any problems you have with your belt, like a broken buckle, or damaged belt loopholes (for leather belts).
b. Shorten A Belt Without Cutting
1. Put on Your Belt.
First, wear the belt you’ll be shortening. This will help with targeting measurements.
2. Mark Your New Belt Length
Next, use a tape measure to mark how long you want your belt to be on one end of the buckle, the end that typically feeds through belt loops first. Once marked, take off the belt.
3. Remove The Belt Loops
This step is only necessary if your belt has belt loops that you need to feed the buckle through. If it doesn’t, skip this part and go to the next one.
Take a pair of pliers and grip the two prongs on either side of the belt loop in question. Twist slightly until you feel them come apart in your hand. Repeat for any other belt loops in the way of your buckle.
4. Remove the Belt Buckle
Use pliers to grip the buckle, similar to how you removed the belt loops in step 3. Twist slightly until they’re loose enough to pull off with your hands.
5. Punch New Belt Holes
Take your belt buckle and use pliers to grip it at the edges, keeping the smooth side face down. Insert one end of the belt through the buckle from back to front so that the smooth sides are touching.
Line up one of your marks with a prong, making sure both sides have equal amounts of belt extended from the buckle. Use a leather punch to insert a hole at this point through both pieces of belt material and prong.
Repeat with another mark on that end. Remove this end from the buckle and repeat on the other side, doing it as above, but first remove your belt from the fold so you can more easily line up your marks with the prongs.
6. Reattach The Belt Buckle
Slide one end of the belt through the buckle (similar to step 5), making sure there are equal amounts on both sides and it’s in the same orientation as when you removed it. Insert holes like before, but this time use your pliers to insert them through the prong, the belt material, and buckle.
7. Make Any Last Adjustments
You may need to make small adjustments once you tighten the belt by pulling it taut. This is because there’s slack in the belt which causes it to be longer than intended when relaxed. Use your pliers again to pinch prongs apart to remove slack. Then, insert your belt buckle through your new hole to make further adjustments until the finished product is even and straight.
Leather Belt Shortening Service
This involves taking your leather belt to a designated location for shortening.
At first, Leather Belt Shortening Service was only limitedly available in certain stores throughout the country, but now there are multiple locations where you can take your leather belt to have it shortened.
Advantages of Leather Belt Shortening Service
1. Convenience
Leather Belt Shortening Service is more convenient than finding another place to shorten your belt at since you can do it all in one stop at a designated location that has the equipment needed.
The designated locations vary from store to store. The number of designated locations in a particular city is dependent on the number of leather belts brought to that location and the number of employees working there, which will be further discussed later in this article.
2. Time Efficient
This process for shortening your belt takes much less time than having to re-adjust the belt every couple of months. It might be time-efficient for you to bring your leather belt to a designated location instead of taking it to someone yourself.
3. Quality
When you take your own leather belts to have them shortened, there’s no telling how well they’ll turn out because many people may not know how to do it correctly.
4. Your Belt Doesn’t Get Damaged
If you take your own belts to be shortened, there’s a chance that they may get damaged because it isn’t guaranteed who will do the shortening. When you get the belt shortened at a designated location, there are experienced employees working there and they know how to handle leather belts properly.
d. Remove Buckle To Cut
Removing buckle to cut is a quick way to shorten the belt by about an inch. Follow the following steps to remove your buckle and shorten your belt.
1. Use a tape measure to measure your waist
Use a tape measure and put it around your waist where you would wear the belt. Mark it at the point where the tape measure overlaps to form a circle (the place you will be wearing your belt).
2. Measure Your Belt From the Tail End
Use a tape measure and put it at one end of the belt. Pull it all the way around until you reach the point where you had marked from your waist measurement.
3. Remove the Buckle
Use pliers to remove the buckle from the belt. You can twist it off or bend out the prongs holding it in place.
4. Shorten The Belt
Use a craft knife and ruler to cut your belt 1-inch above where you had previously marked with your tail end measurement (the point of overlap). This will leave you with two halves of the same belt.
5. Reattach Buckle to Shortened Belt
Use pliers and place them over the buckle. Press down on the prongs until they lock into place. Make sure they are tight so that your buckle won’t come off during use.
6. Test for Correct Fit
Put the shortened belt on. The buckle should rest 1-inch higher than where the tape measure had been placed during your waist measurements. The belt should slide through your pant loops easily but take a bit of force if you were to pull it left or right without undoing the buckle. If this is not the case, then remove the buckle and shorten the belt by 1-inch again.
e. Remove Tail End Of Belt
Follow the following steps to shorten your belt by removing the tail end of the belt:
1. Put on Your Belt
Put on your belt and tighten it until it feels snug. Make sure the belt is comfortable on you. Mark the new hole on the belt with your finger
2. Cut the Tail End a Few Inches From The New Position
Use a pair of sharp scissors or an Exacto knife to cut the tail end of the belt. Cut about 2-3 inches from the new mark you made in step 1
3. Fix New Holes on Your Marked Points
Use a leather punch to carefully create new holes on your belt on the mark you made in step 1. Make sure your holes are even and aren’t too large.
4. Pass the New Cut End Over Lighter
Pass the new cut end of your belt over a lighter. The heat from the lighter will melt and bond the tail end to prevent the belt from unraveling.
Shortening your belt is a quick and easy way to make sure it fits you comfortably. There are many ways to go about shortening your belt, but the method described in this article is the quickest and simplest.
Make sure to follow the steps carefully so that you don’t damage your belt in the process. Remember to take note of the number of holes on your belt so that it will be easier to shorten.